Danceable gives dance teachers one place to present their experience, manage their classes, and connect with students.
This step-by-step guide explains how to create a teacher account, verify your email address, and complete your professional profile.
1. Create your account
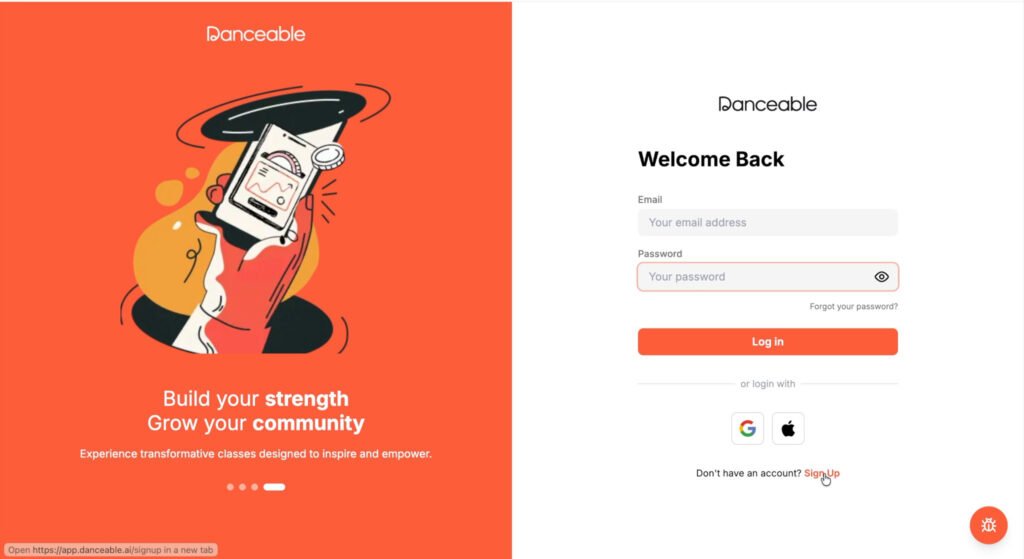
Go to app.danceable.ai and select Sign Up.
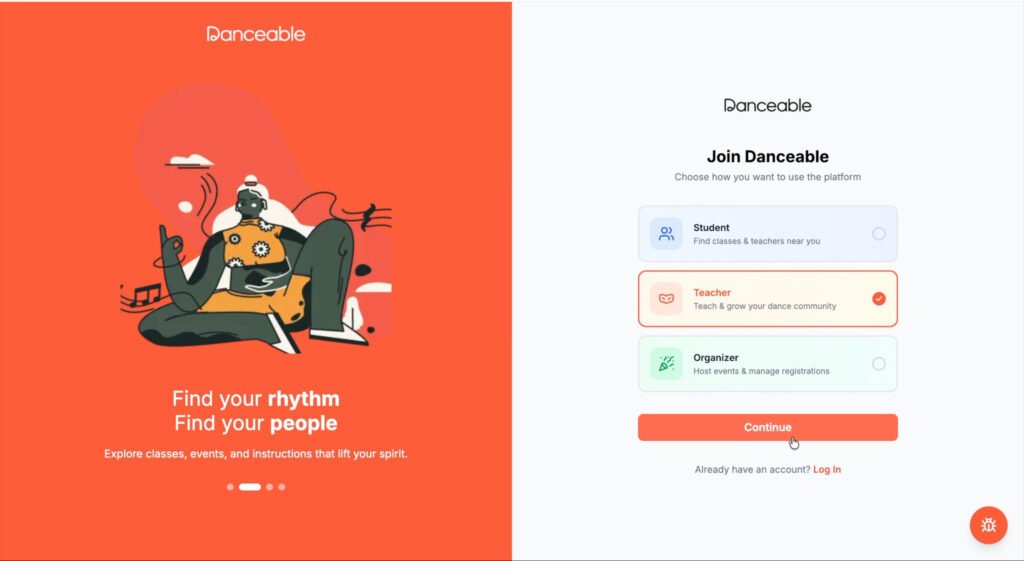
Choose Teacher when Danceable asks how you would like to join the platform.
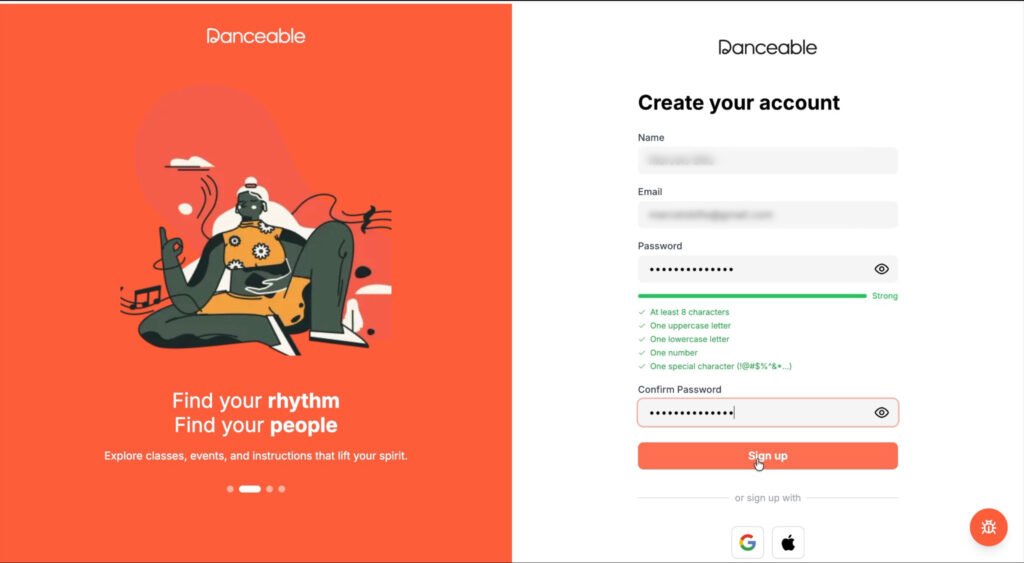
Enter the following information:
- Your full name
- Your email address
- A secure password
Enter the password again to confirm it, then select Sign Up.
2. Verify your email address
Danceable will send a verification email to the address you provided.
Open the email and copy the verification code. Return to Danceable, enter the code in the verification field, and select Verify.
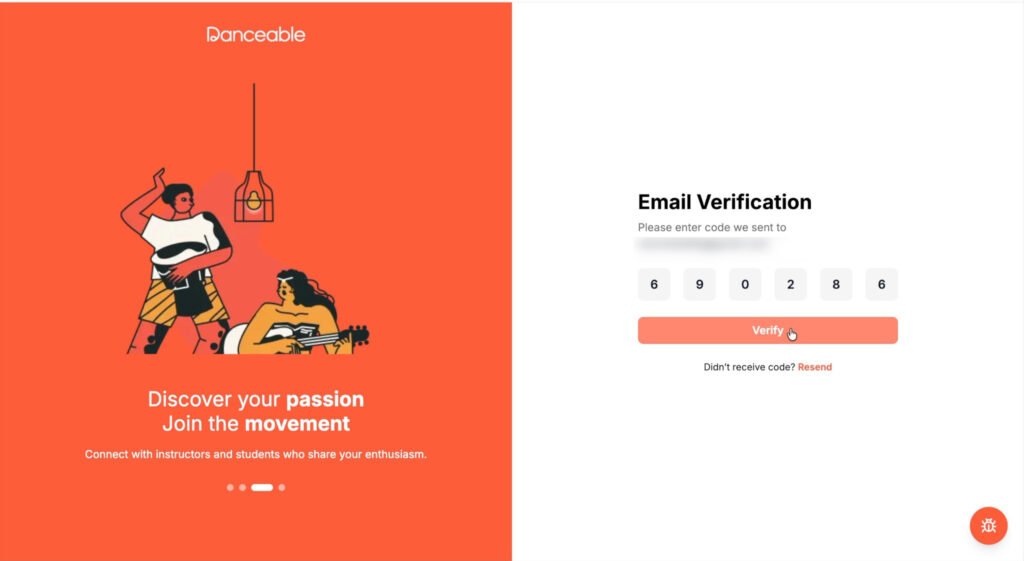
If you do not see the message, check your spam or junk folder before requesting another code.
3. Add your personal information
After verifying your email, Danceable will guide you through the profile-creation process.
Enter the requested information:
- Phone number
- Age
- Gender
- Preferred language
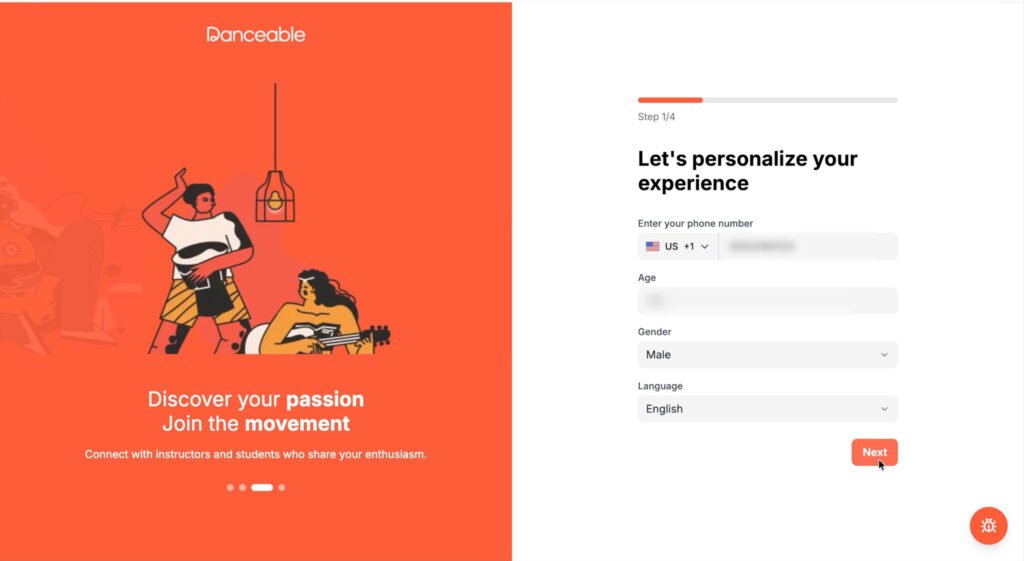
Review your information and select Next.
4. Select the dance style you teach
Choose your dance style from the available options. For example, if you teach Argentine Tango, select Argentine Tango.
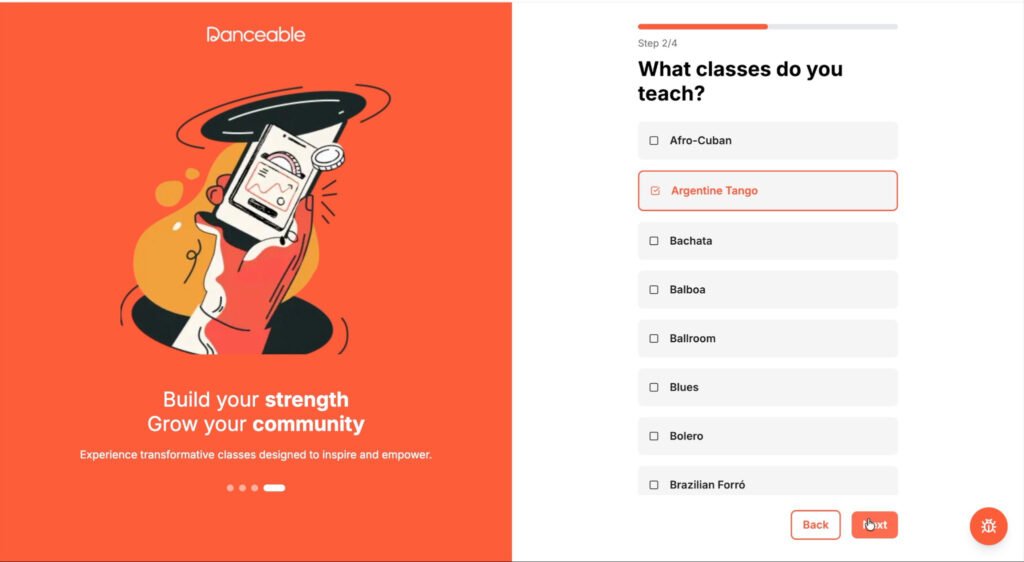
Select Next to continue.
5. Add your profile photo
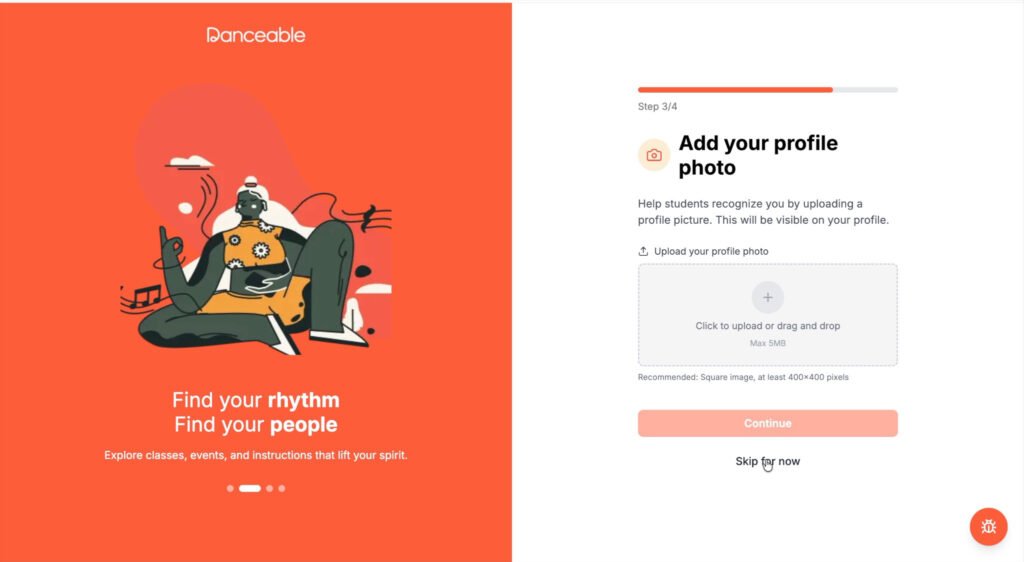
Upload a clear, professional photograph that students can use to recognize you.
You can skip this step and upload a photo later. However, a complete profile looks more credible and makes it easier for prospective students to connect with you.
6. Describe your teaching experience
Write a concise description of your professional background and teaching experience.
For example:
More than 30 years of experience teaching Argentine Tango to students of all levels.
Be specific. Mention the styles you teach, your years of experience, the students you work with, and any distinctive aspect of your teaching approach.
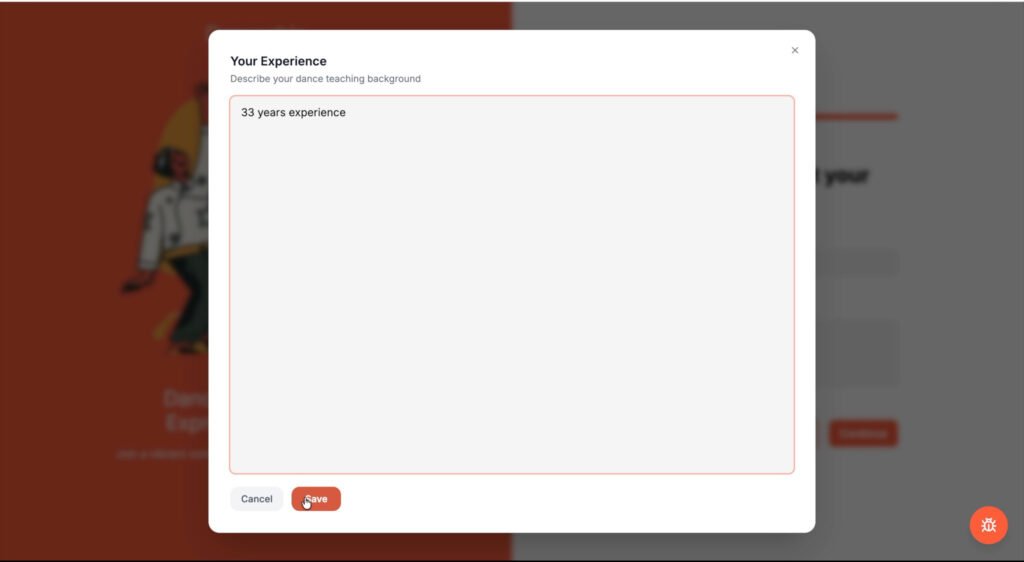
Select Save when your description is complete, then select Continue.
7. Access your teacher dashboard
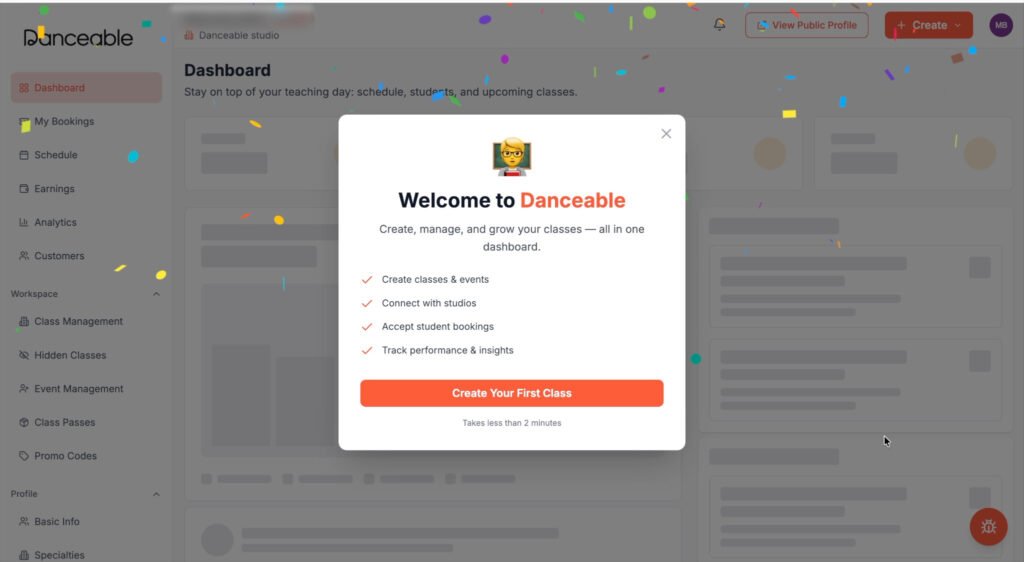
After completing your profile, you will arrive at the main teacher dashboard.
From the dashboard, you can begin exploring Danceable’s tools for managing your teaching activity, classes, bookings, and students.
Ready to get started?
Create your Danceable teacher account and begin sharing your classes with the dance community.
You can also watch the step-by-step video tutorial.