
If you’re a dance teacher or event organizer using Danceable, connecting a Stripe account allows you to receive payments from students booking classes and customers purchasing event tickets.
The process only takes a few minutes. Follow the steps below to get started.
Watch the video tutorial
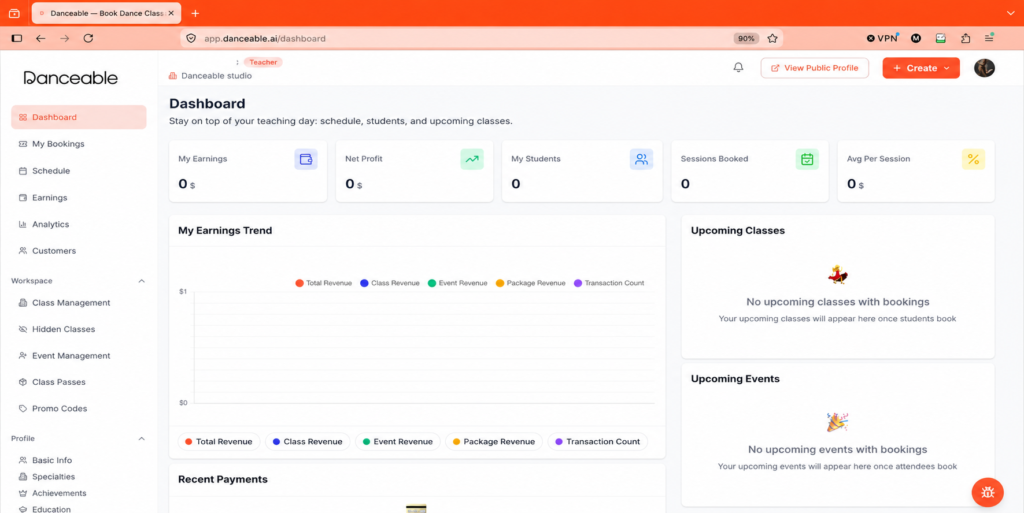
Step 1: Open your Danceable dashboard
Sign in to your Danceable account and open your dashboard. This is where you can manage your profile, activities, bookings, events, and earnings.
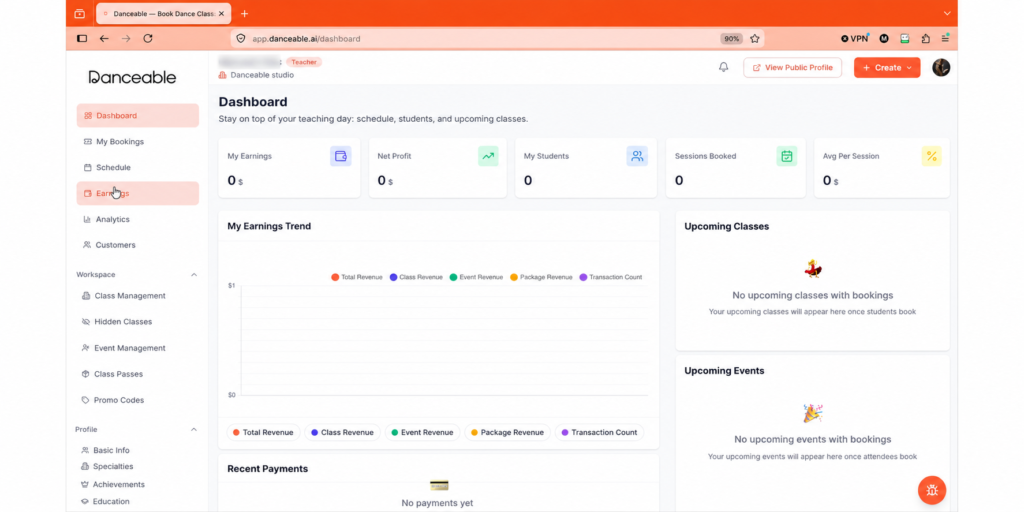
Step 2: Select Earnings
Find the navigation panel on the left side of the dashboard and click Earnings.
The Earnings section is where you can manage the payment connection for your Danceable account.
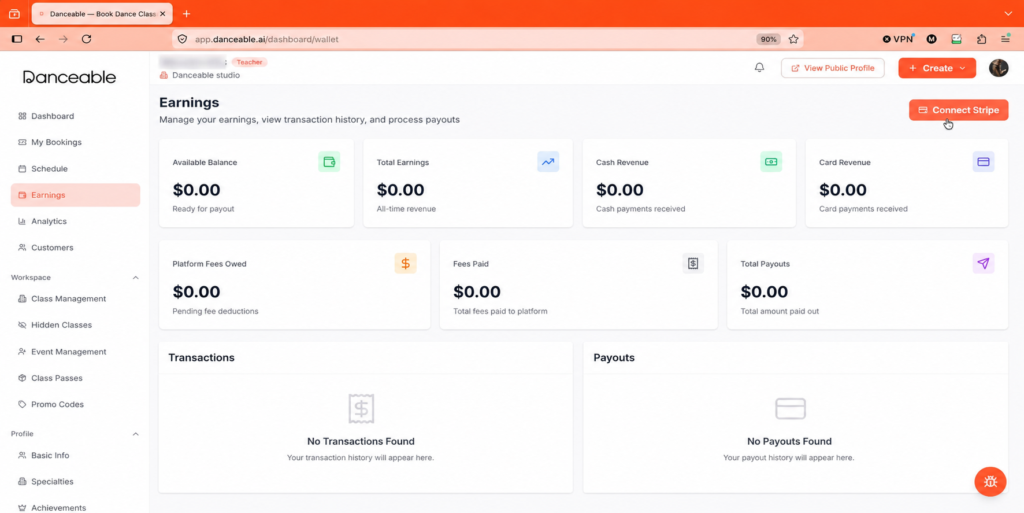
Step 3: Click Connect Stripe
On the Earnings screen, go to the top-right corner and click Connect Stripe.
This will begin the process of linking your Danceable account to Stripe.
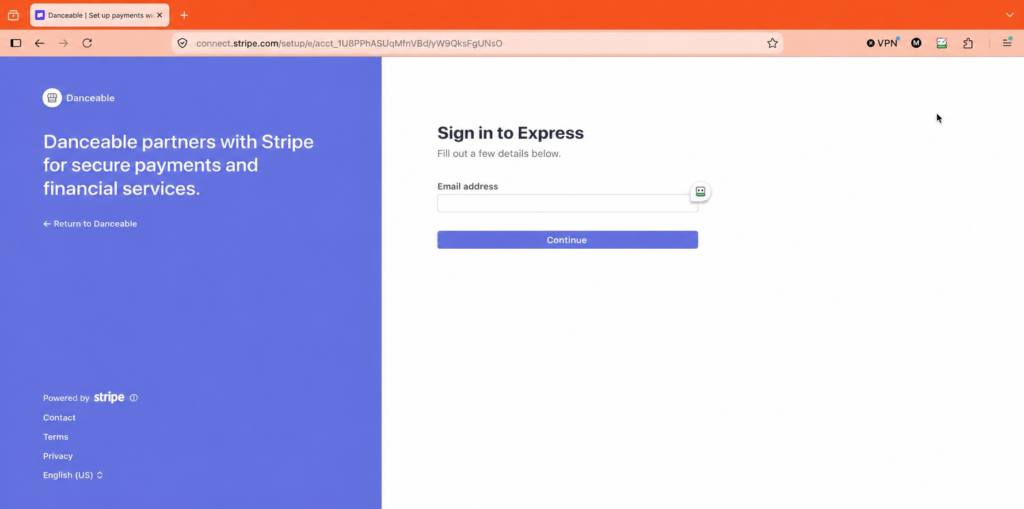
Step 4: Follow the Stripe instructions
Follow the instructions displayed by Stripe to connect an existing account or complete the required account setup.
Make sure the information you provide is accurate. Stripe may require identity, business, or banking information before it can enable payouts.
Start receiving payments through Danceable
Once the connection is complete, your Danceable account will be ready to receive earnings from eligible class bookings and event ticket sales.
You can return to the Earnings section whenever you need to review your payment connection.
That’s it—your Stripe account is now connected to Danceable!
Need help?
If you have trouble connecting your account, contact the Danceable support team for assistance. Do not share passwords, banking details, or identity documents through email or public support messages.